Introduction
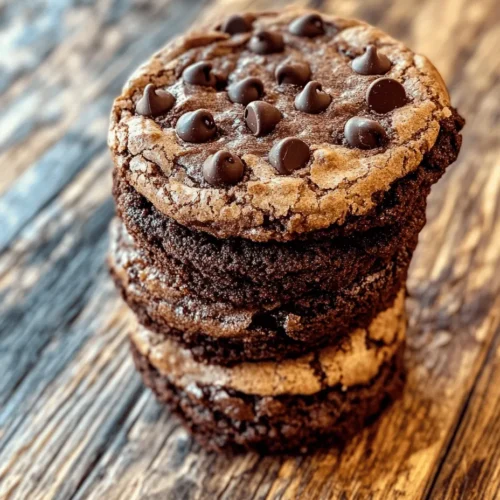
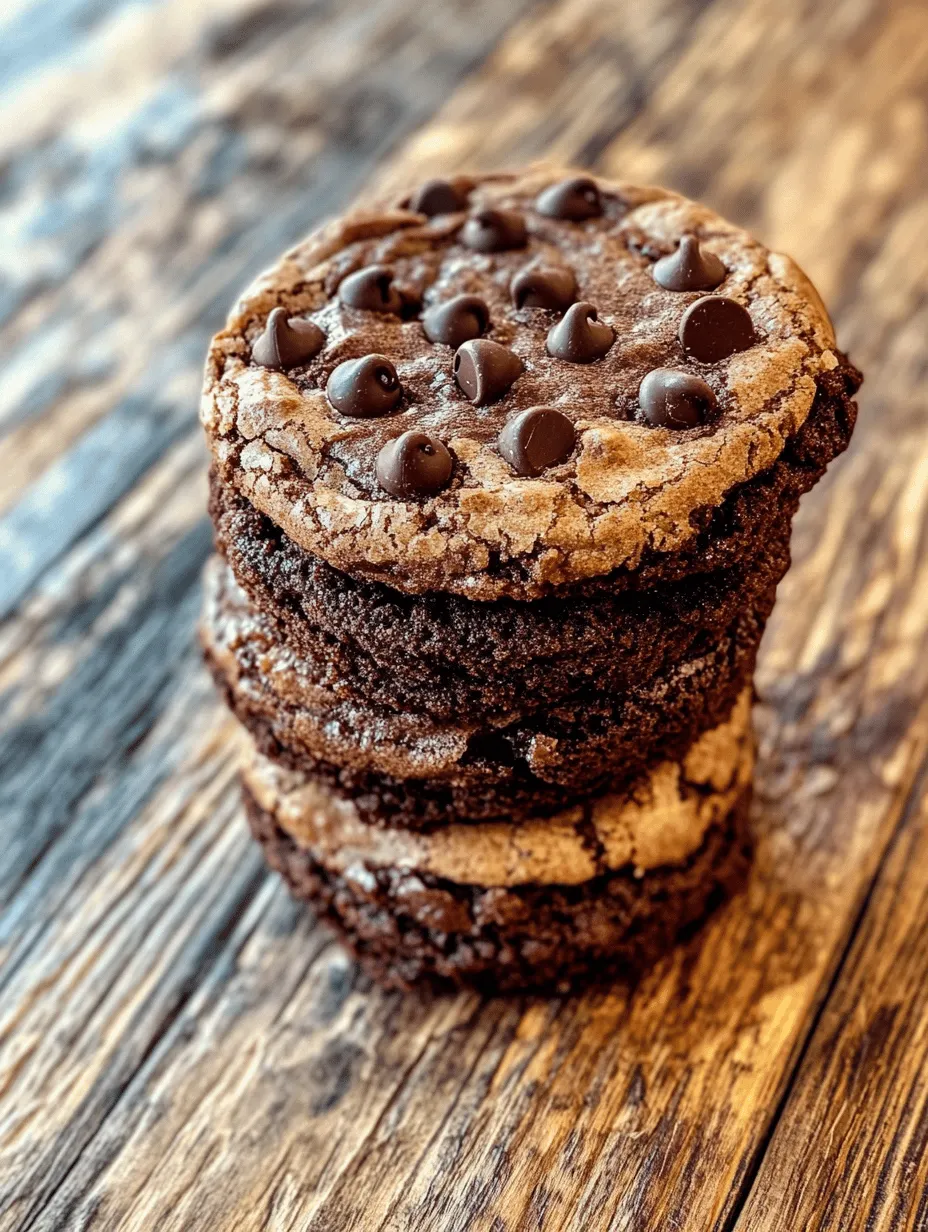
In the world of desserts, few treats can match the allure of browkies—a delightful hybrid that seamlessly combines the rich, fudgy goodness of brownies with the comforting chewiness of cookies. This ingenious dessert is perfect for those who find it impossible to choose between two of the most beloved sweets. With their dense brownie base and soft cookie top, browkies deliver a satisfying textural contrast that keeps dessert lovers coming back for more.
What makes browkies truly special is their versatility. These delightful treats are suitable for various occasions, whether you’re hosting a casual get-together, celebrating a birthday, or simply indulging in a sweet craving at home. Their appeal spans generations, making them a favorite for both kids and adults alike. If you’re looking to impress your friends and family with a dessert that exudes both creativity and comfort, look no further than these fudgy chewy browkies.
Understanding Browkies
Browkies are the culinary embodiment of innovation, representing the exciting trend of hybrid desserts that have gained immense popularity in recent years. The term “browkie” itself is a playful portmanteau of “brownie” and “cookie,” and it perfectly encapsulates what you can expect from this delightful treat. Originating from the creative minds of bakers who sought to combine two favorite desserts into one scrumptious bite, browkies have taken the baking world by storm.
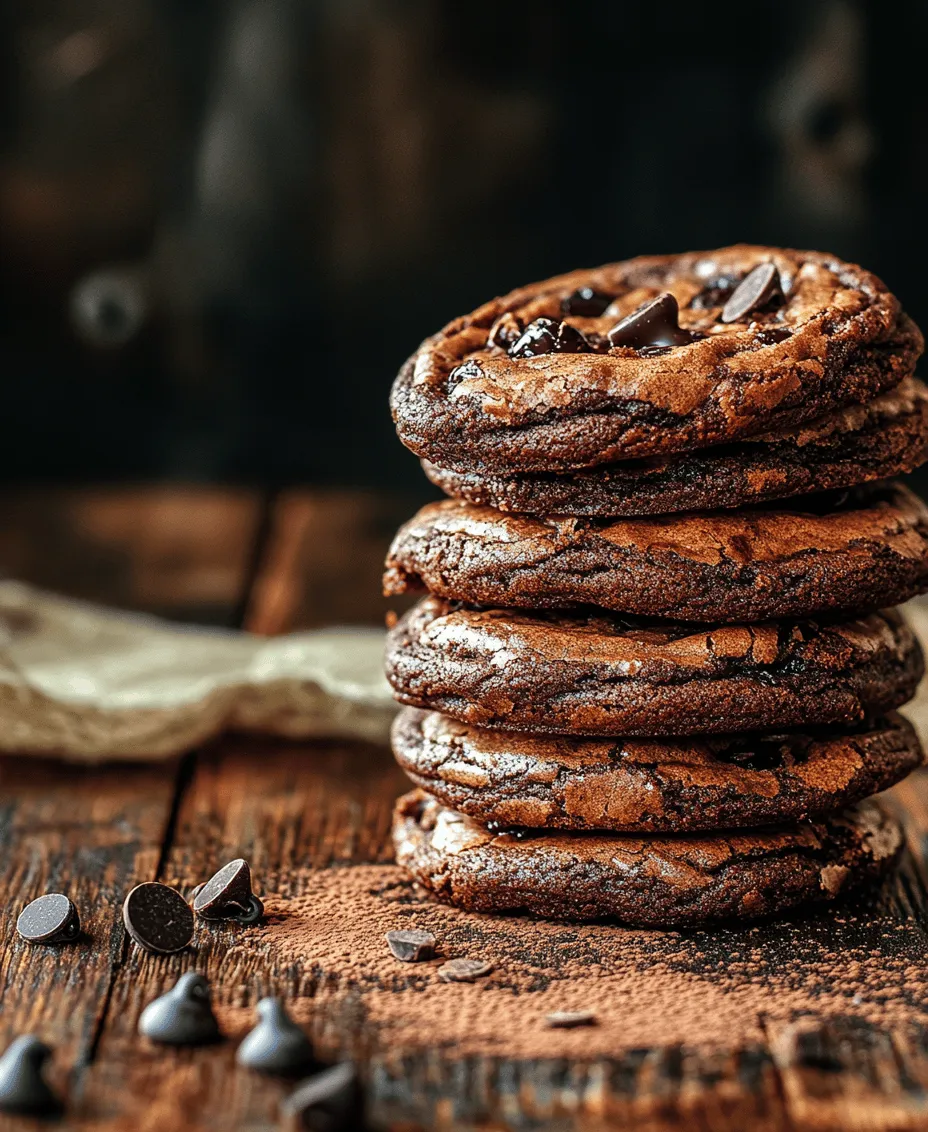
The appeal of hybrid desserts like browkies lies in their ability to deliver a unique experience that tantalizes the taste buds. Each bite reveals a symphony of flavors—rich chocolate from the brownie layer plays beautifully with the sweet vanilla notes of the cookie layer. This balance of flavors, combined with the contrasting textures, creates an indulgent treat that is hard to resist. Whether you’re enjoying them warm out of the oven or at room temperature, browkies are a crowd-pleaser that caters to a variety of palates.
Ingredients Breakdown
Brownie Layer Components
To create the perfect fudgy brownie layer for your browkies, you’ll need a few essential ingredients that work harmoniously to achieve that rich, chocolatey flavor:
– Unsalted Butter: The foundation of your brownie layer starts with unsalted butter. This ingredient not only adds moisture but also contributes to the fudginess of the brownies. Using unsalted butter allows you to control the salt content in your recipe, ensuring a balanced flavor.
– Brown Sugar: Brown sugar is a must for achieving the deep, caramel-like flavor that complements the chocolate. Its moisture content helps keep the brownies soft and chewy, which is critical for that desired fudgy texture.
– Cocoa Powder: For a rich chocolate flavor, high-quality cocoa powder is essential. It adds depth and intensity to the brownies, making them the star of the show. Choose a dark cocoa powder for an even richer taste.
– Chocolate Chips: Adding chocolate chips takes your brownies to the next level. They melt into the batter as it bakes, creating pockets of gooey chocolate that enhance the overall experience. You can use semi-sweet, dark, or even white chocolate chips depending on your preference.
These ingredients work together to create a brownie layer that is not only fudgy but also has a deep, satisfying chocolate flavor that serves as the perfect base for your browkies.
Cookie Layer Components
Now that we’ve covered the brownie layer, let’s delve into the cookie layer components that provide that delightful chewiness:
– Softened Butter: Similar to the brownie layer, softened butter is essential for the cookie layer as well. It helps create a tender texture while providing a rich flavor base for the cookies.
– Granulated Sugar: Granulated sugar gives the cookies their sweetness and contributes to their classic chewy texture. The sugar granules help create air pockets when creamed with the softened butter, leading to a light and fluffy cookie.
– Baking Soda and Flour: The combination of baking soda and all-purpose flour is crucial for achieving the right structure in your cookies. Baking soda helps the cookies rise slightly, while the flour provides the necessary stability. This combination results in a cookie layer that is both chewy and slightly crisp around the edges.
Together, these ingredients create a cookie layer that complements the brownie base perfectly, resulting in a harmonious blend of flavors and textures in every bite.
Preparation Steps
Prepping the Baking Pan
Before you dive into mixing your ingredients, it’s essential to prepare your baking pan properly. Greasing and lining the pan not only ensures easy removal of your browkies but also promotes even baking. For best results, use a 9×13-inch baking pan, as this size allows for the right thickness of both layers.
Start by greasing the pan with a thin layer of butter or non-stick cooking spray. Next, line the bottom and sides with parchment paper, leaving some overhang. This overhang will act as a handle, making it easy to lift the browkies out of the pan once they are baked and cooled. Additionally, lining the pan helps prevent sticking, so your browkies retain their beautiful shape and texture.
Making the Brownie Layer
Once your baking pan is prepped, it’s time to make the brownie layer. Begin by melting your unsalted butter in a medium saucepan over low heat. Once melted, remove the saucepan from the heat and stir in the brown sugar until well combined. The heat will help dissolve the sugar, resulting in a smoother batter.
Next, add in the cocoa powder and mix it until fully incorporated. This step is crucial, as it allows the cocoa to fully blend into the batter, ensuring that every bite is rich and chocolaty. Afterward, let the mixture cool slightly before adding in the eggs and vanilla extract. Whisk the eggs in one at a time, ensuring they are fully combined before adding the next. This process helps create a rich, fudgy texture.
Once the eggs are mixed in, it’s time to fold in the all-purpose flour and chocolate chips. When incorporating these dry ingredients, be careful not to overmix. Overmixing can lead to a denser brownie layer, which is not what you want for these fudgy browkies. Instead, gently fold the flour into the wet mixture until just combined. The batter should be thick and slightly shiny, indicating that it’s ready to be poured into the prepared baking pan.
By following these initial steps with care, you set the foundation for the ultimate fudgy chewy browkies. Stay tuned as we continue to explore the delightful process of creating this hybrid dessert in the next part of our article.
Creating the Cookie Layer
To craft the perfect cookie layer for your browkies, you’ll want to employ the creaming method. This technique involves beating the butter and sugar together until the mixture is light and fluffy, which is crucial for incorporating air into the dough. The result is a cookie that rises beautifully in the oven, giving you that sought-after chewy texture. Start by using room temperature butter, which will blend more easily with the sugar. Aim for a consistency that is pale and creamy, indicating that you’ve successfully aerated the mixture.
As you incorporate the eggs, do so one at a time, ensuring each egg is fully blended before adding the next. This gradual mixing is essential; it prevents overworking the dough, which can lead to a dense cookie. When adding the dry ingredients, such as flour, baking soda, and salt, mix just until combined. Overmixing at this stage can develop the gluten too much, resulting in a cookie layer that is tough rather than chewy.
Assembling the Browkies
Once your brownie batter and cookie dough are prepared, it’s time to assemble the browkies. Start by greasing your baking pan thoroughly or lining it with parchment paper for easy removal. Pour half of the brownie batter into the prepared pan, spreading it evenly across the bottom. Next, dollop spoonfuls of the cookie dough over the brownie batter. The goal here is to create a marbled effect that beautifully blends the two textures without losing their individual identities.
To achieve this marbling, use a knife or a toothpick to swirl the cookie dough into the brownie batter gently. Be careful not to overmix; you want distinct layers that create a striking visual appeal. The contrast of the rich brownie against the lighter cookie will not only look beautiful but also enhance the overall baking experience, promising a delightful treat that is as pleasing to the eyes as it is to the palate.
Baking Perfect Browkies
Temperature and Time
Baking the browkies at the right temperature is crucial for achieving that ideal fudgy and chewy texture. Preheat your oven to 350°F (175°C). This temperature allows the browkies to bake through without drying out. When you place the pan in the oven, it’s important to set a timer for about 25-30 minutes. However, every oven is different, so keep an eye on your creation as it bakes.
To check for doneness, insert a toothpick into the center. If it comes out with a few moist crumbs clinging to it, your browkies are done. Remember, they will continue to cook slightly after being removed from the oven due to residual heat, so it’s better to err on the side of slightly underbaked for that perfect fudgy consistency.
Cooling and Serving
Once your browkies are baked to perfection, remove them from the oven and allow them to cool in the pan for about 10-15 minutes. This initial cooling time helps them set and makes them easier to cut without falling apart. After this period, transfer them to a wire rack to cool completely.
The cooling process is vital as it allows the flavors to develop fully and the texture to firm up without losing its chewy goodness. For serving, consider pairing your warm browkies with a scoop of vanilla ice cream or drizzling them with melted chocolate for an indulgent treat. This combination not only enhances the flavor but also adds a delightful contrast in temperature and texture.
Flavor Variations and Customizations
While the classic fudgy chewy browkies are undeniably delicious, don’t hesitate to get creative with variations. For a nutty twist, consider folding in some chopped walnuts or pecans into the brownie batter. If you’re a chocolate lover, experiment with different types of chocolate chips—milk chocolate for sweetness, dark chocolate for a more intense flavor, or even white chocolate for a unique contrast.
You can also explore flavor extracts, such as vanilla, almond, or even espresso, to elevate the taste. For those with dietary restrictions, adapting the recipe is straightforward. Substitute regular flour with a gluten-free blend and ensure your chocolate chips are gluten-free as well. Additionally, you can use dairy-free butter and chocolate to make this treat vegan-friendly.
Storage and Shelf Life
To keep your browkies fresh and delicious, proper storage is key. Allow the browkies to cool completely before transferring them to an airtight container. They can typically be stored at room temperature for up to 3-4 days, maintaining their chewy texture. If you want to extend their shelf life, consider refrigerating them, where they can last for up to a week.
For longer storage, browkies can be frozen. Wrap them individually in plastic wrap and place them in a freezer-safe bag or container. They can be frozen for up to three months. When you’re ready to enjoy them, simply thaw them at room temperature or warm them slightly in the microwave for a few seconds to restore that fresh-baked quality.
Conclusion
In summary, creating the best fudgy chewy browkies is an enjoyable and rewarding experience. By following the steps outlined, from the careful preparation of the cookie layer to the perfect baking technique, you can ensure a delightful outcome that satisfies both brownie and cookie lovers alike. The joy of baking is not just in the end result, but also in the process itself—watching your ingredients transform into a delicious dessert that brings smiles to everyone who tries it.
We encourage you to try this recipe and relish the unique combination of rich brownie and chewy cookie in every bite. Whether enjoyed warm with a scoop of ice cream or stored for later indulgence, these browkies are sure to become a cherished favorite in your dessert repertoire. Happy baking!